How Digital Printed Dress Manufacturing Works
A clear process helps brands reduce back-and-forth communication and make sample development more useful before bulk production.
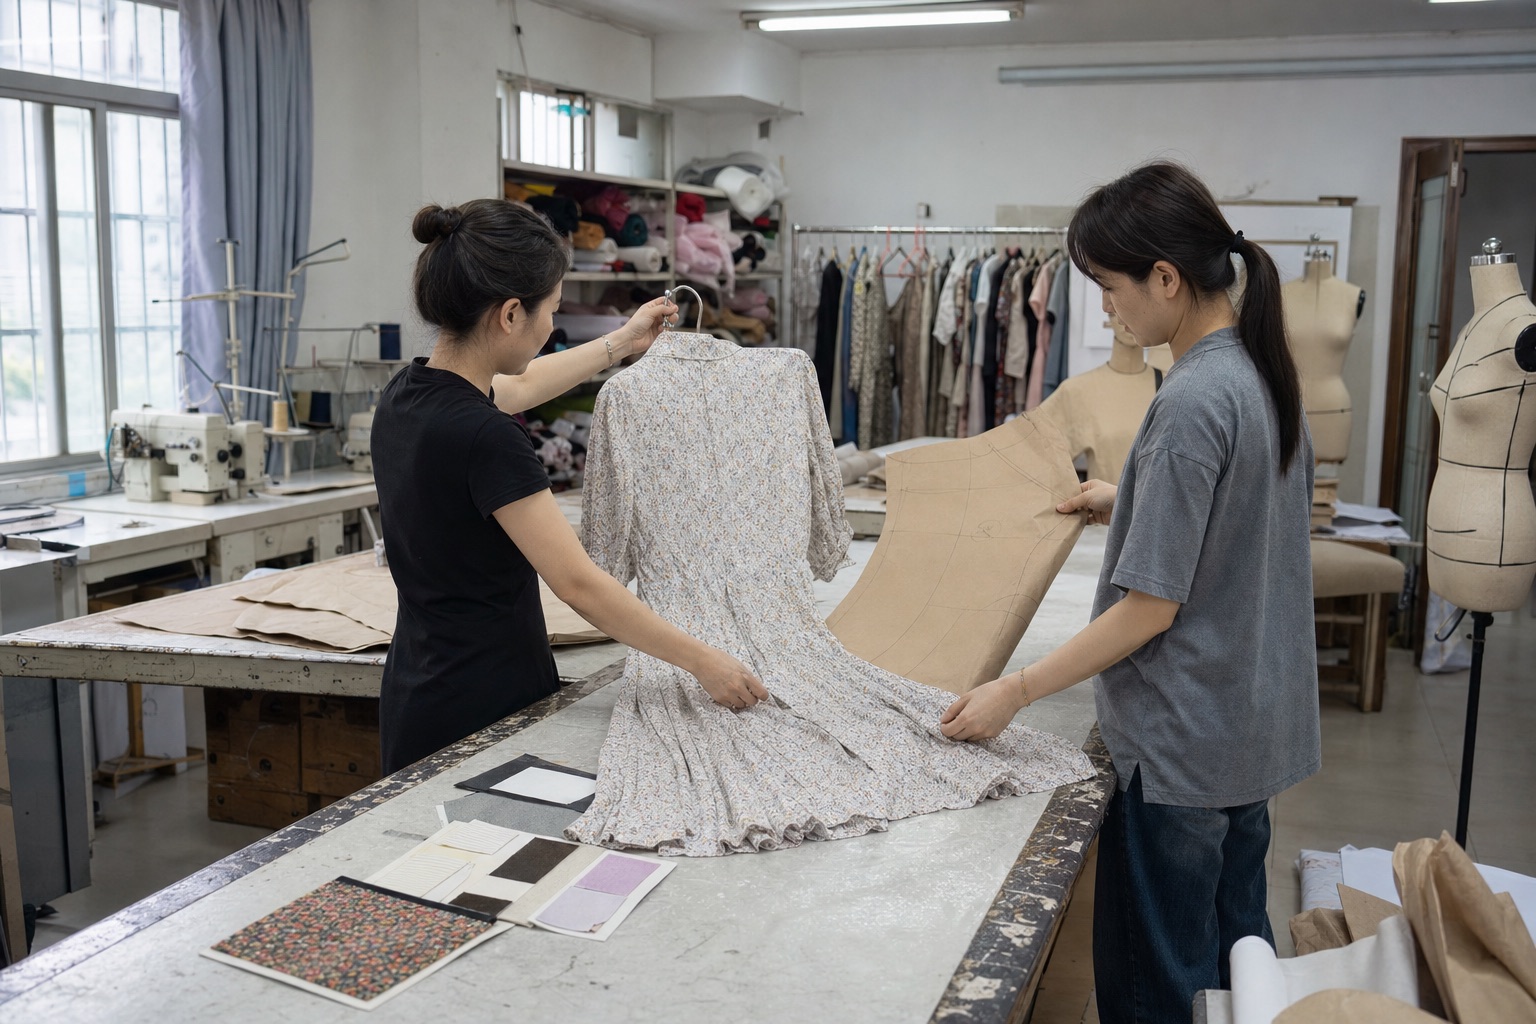
Send artwork and project direction
Upload your print file or reference image with product type, target quantity, size range, fabric preference, private label needs, and delivery timing.
Review style, fabric, and print method
Alohamiss checks whether your artwork fits the requested garment style, which fabric can carry the print, and whether digital printing, sublimation, or another method is more practical.
Make a sample for approval
The sample confirms fabric hand feel, opacity, print scale, placement, garment construction, labels, fit comments, and any revision before production.
Plan low-MOQ private label production
After sample approval, production follows the confirmed sample, size chart, artwork file, label plan, packaging notes, QC checklist, and shipment requirements.
Upload artwork and project direction
Start by sending the artwork or reference you have. It can be a production-ready AI or PSD file, a PDF, a PNG or JPG image, an AI-generated pattern, a sketch, or a reference direction. The first submission should also include product type, country, estimated quantity, sample or bulk stage, size range, and private label needs.
If you are unsure which garment shape fits the artwork, choose Not sure, need suggestion. Alohamiss can recommend a practical style direction, or review your own reference photo, sample garment, drawing, or tech pack.
Customer provides
- Artwork file or reference image
- Product type and target quantity
- Country, size range, and price direction if known
- Sample or bulk order stage
- Private label and packaging needs
Alohamiss checks
- Artwork resolution, repeat, scale, and placement risk
- Suitable style direction, reference cut, and category fit
- Fabric opacity, drape, print clarity, and target price
- Printing method fit for quantity and material
- Sample purpose and likely next questions
Review style, fabric, and printing method
The review stage turns a broad idea into a production path. A tropical print may fit a resort maxi dress or kaftan. A modest floral print may need an abaya or modest robe-style direction with more opacity. A paisley artwork may need a relaxed long dress with repeat and hem balance review.
This stage should also surface risk. If the file is too low-resolution, if the fabric may be transparent, if the motif is too large, or if a border print may cut badly across seams, those issues should be raised before sample payment.
Make and review the sample
The sample confirms real garment behavior. It should check fabric hand feel, opacity, color result, print scale, print placement, fit direction, sleeve and hem balance, label placement, and finishing. A sample is not only a photo opportunity; it is a production risk control step.
After sample review, the brand may approve, request adjustments, change fabric, adjust print scale, or clarify private label details. Those decisions should be recorded before bulk production starts.
Move into low-MOQ private label production
Bulk production follows the approved sample, final artwork, confirmed size range, label plan, packaging notes, and QC requirements. Trial production can often start from 30-50 pieces per design for suitable projects, but MOQ depends on fabric, print method, construction, and label needs.
This workflow helps small brands avoid buying bulk inventory before the fabric and print result have been verified.
Ready to start the workflow?
Use the project review form to send your artwork, style reference, quantity, country, and sample or bulk direction.