How to Make Custom Printed Dresses for Your Brand
A practical guide to turning your own print artwork into digital printed dresses through style references, sampling, and low-MOQ private label production.
Define the project before sampling
The safest way to make custom printed dresses is to start with your artwork and a clear product direction, then narrow the production decisions before paying for bulk. A brand does not always need a complete tech pack to begin, but the first inquiry should include enough information for a factory to understand the artwork, dress type, target quantity, country, and private label needs.
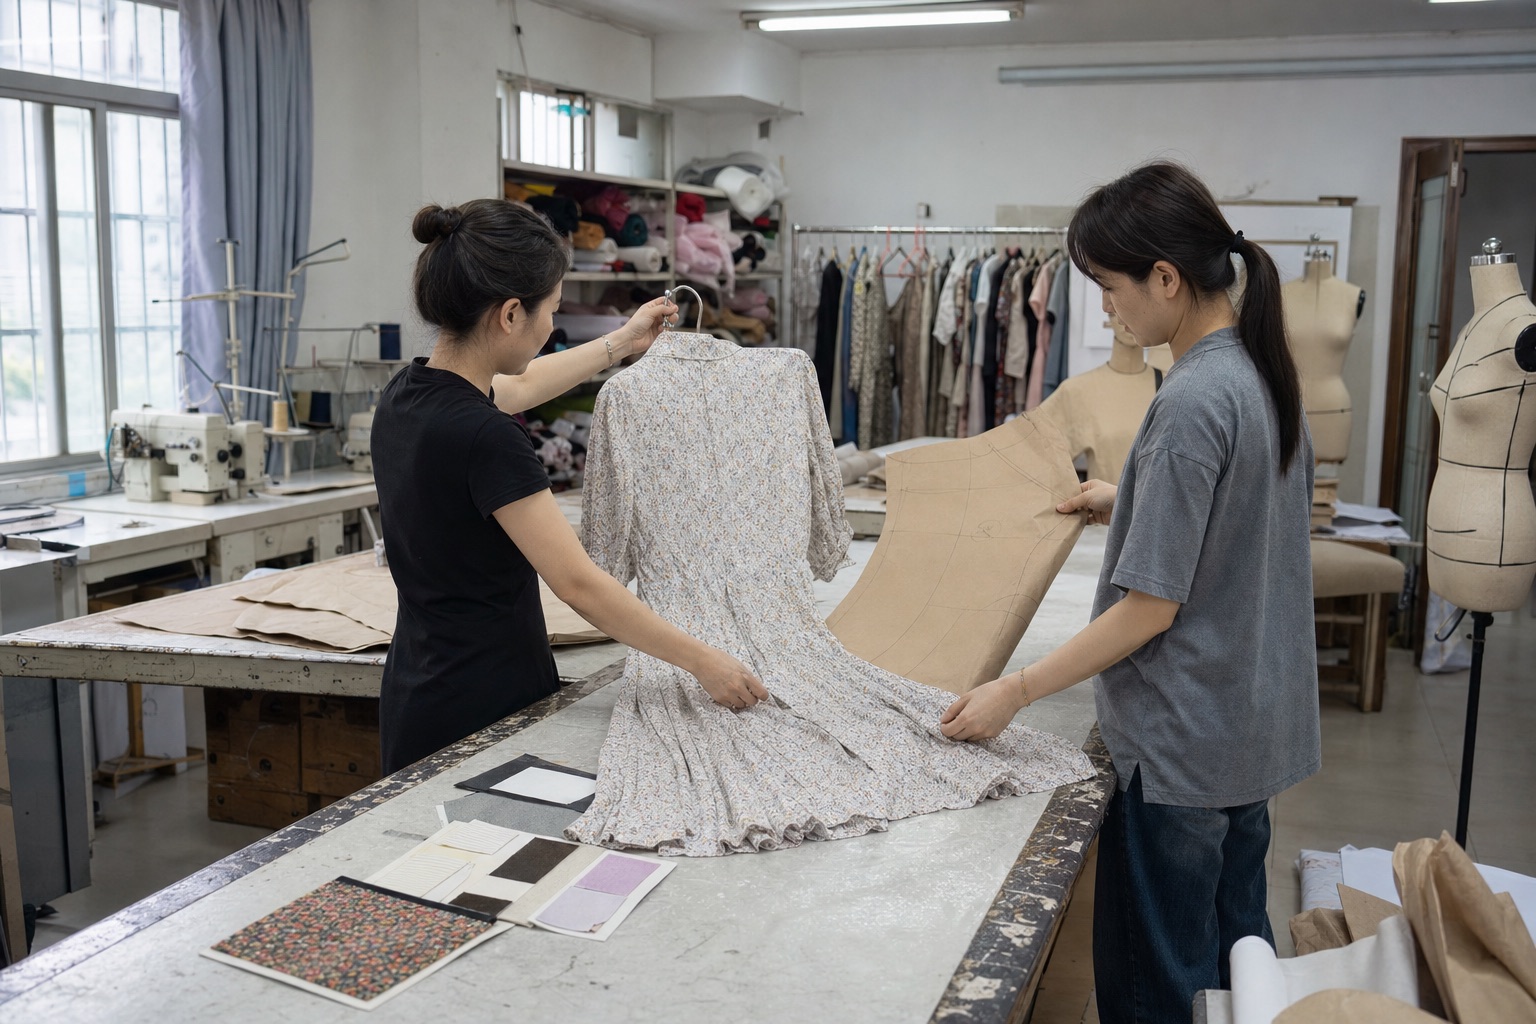
Alohamiss uses a sample-first workflow because printed garments can look very different after the artwork is scaled onto a real dress body. A motif that looks strong on a screen can become too large on a sleeve, too busy on a long dress, or too pale on lightweight fabric. Before sampling, the artwork should be reviewed for resolution, repeat quality, placement risk, and color expectations.
Style references reduce communication cost without limiting the project. Instead of developing every neckline, sleeve, length, and pattern from zero, a brand can share a printed abaya, modest maxi dress, resort maxi, boho long dress, kaftan, or kimono cover direction and focus the sample on fabric, print result, fit comments, and private label details.
Fabric choice is one of the most important early decisions. Crepe, Nida, rayon, viscose, chiffon, satin, and selected polyester blends can all work for printed dresses, but they do not behave the same. Modestwear usually needs more opacity. Resortwear often needs lighter drape and brighter color. Boho dresses often need soft movement and good repeat continuity.
Use the sample to remove risk
A useful manufacturer should not answer only with a unit price. The first reply should identify which parts of the project are clear and which parts are still uncertain. If the artwork is low-resolution, if a border print needs placement work, if the quantity is too low for a specific trim, or if the fabric target conflicts with opacity needs, those points should be raised before sampling.
The sample should prove the decisions that are most likely to create production risk. Check print scale, fabric hand feel, opacity, color result, fit direction, label position, and finishing. If changes are needed, it is better to revise the sample direction before bulk production than to discover the problem after cutting many pieces.
After the sample is approved, bulk planning should follow the confirmed sample, final artwork file, size range, label requirements, packaging notes, and QC checklist. This is why the inquiry form asks for artwork, product type, quantity, country, and sample or bulk stage. The better the first submission, the faster the factory can give a serious reply.
For small brands, the safest launch path is often one focused sample instead of several weak styles at once. Start with the print direction that matters most, share the style reference that fits the target buyer, and use the sample to confirm production reality. Once the first style is approved, repeat styles can be planned with clearer fabric, print, and label decisions.
Move approved details into bulk
The final production plan should include more than quantity and price. Confirm the approved sample reference, final artwork file, size chart, label artwork, packaging notes, inspection points, and shipment expectations. These details help make a low-MOQ order feel controlled instead of improvised.
If the brand wants to build a collection, each additional style should still pass the same review. Similar artwork can behave differently on a kaftan, abaya, or boho long dress. A consistent process gives the brand better repeatability across the first launch and future reorder planning.